![Getting after-call data via Zapier [Trigger]](https://cdn.prod.website-files.com/66a913bc0da5471ed7338557/66a913bc0da5471ed7338cdf_Bunner.png)
Table of Content:
Getting after-call data via Zapier [Trigger]
The Speed-to-Lead™ app will let you get the call information from Convolo and send it to your system. This is what you need to start using the app:
A Zapier account
Convolo Speed To Lead account
How to set up?
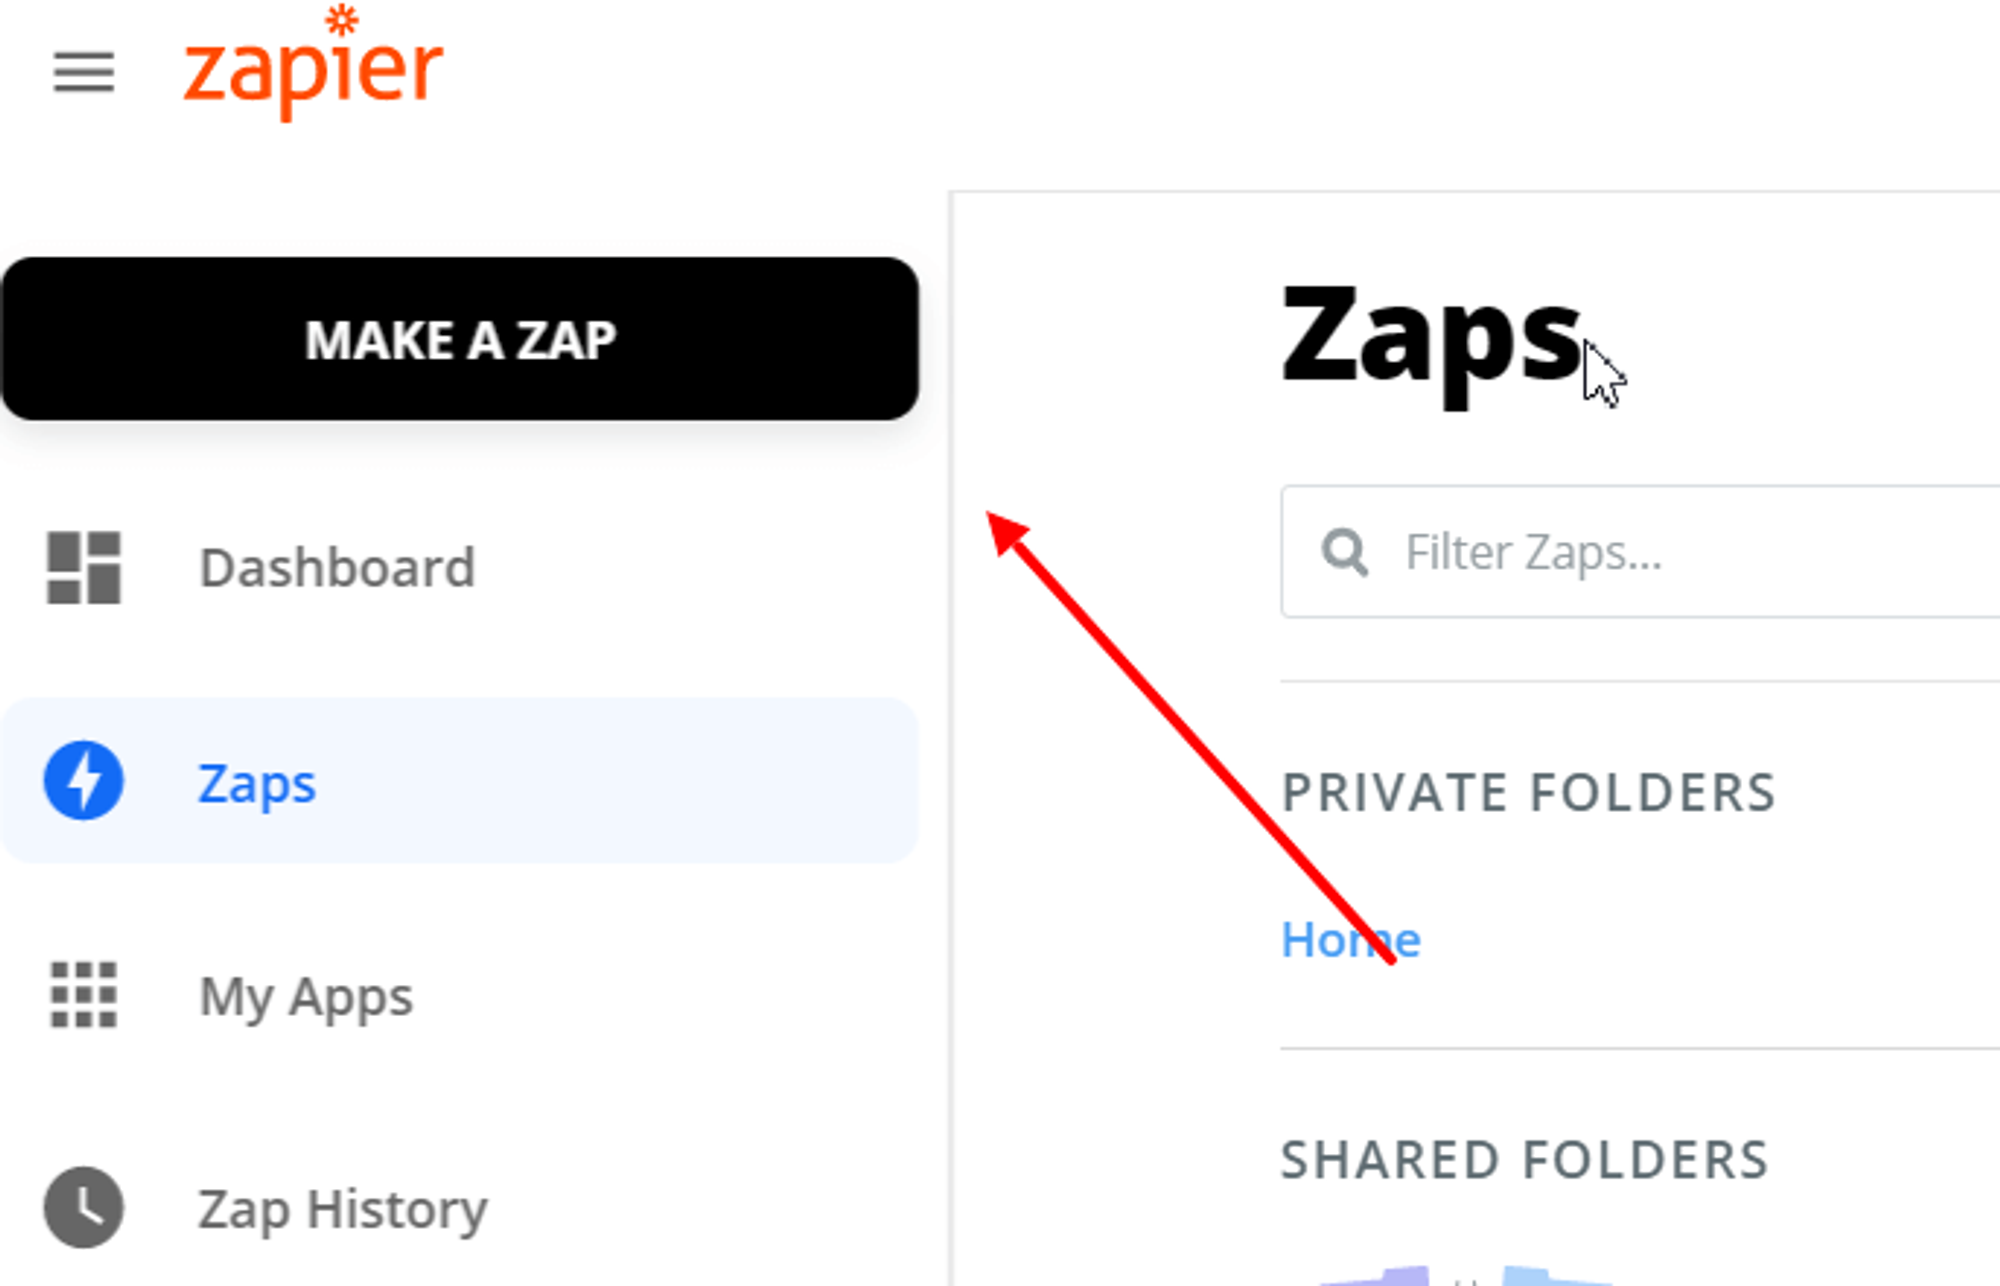
First, create a new Zap:
Then, get a
for the widget you want to proceed with the call-in.
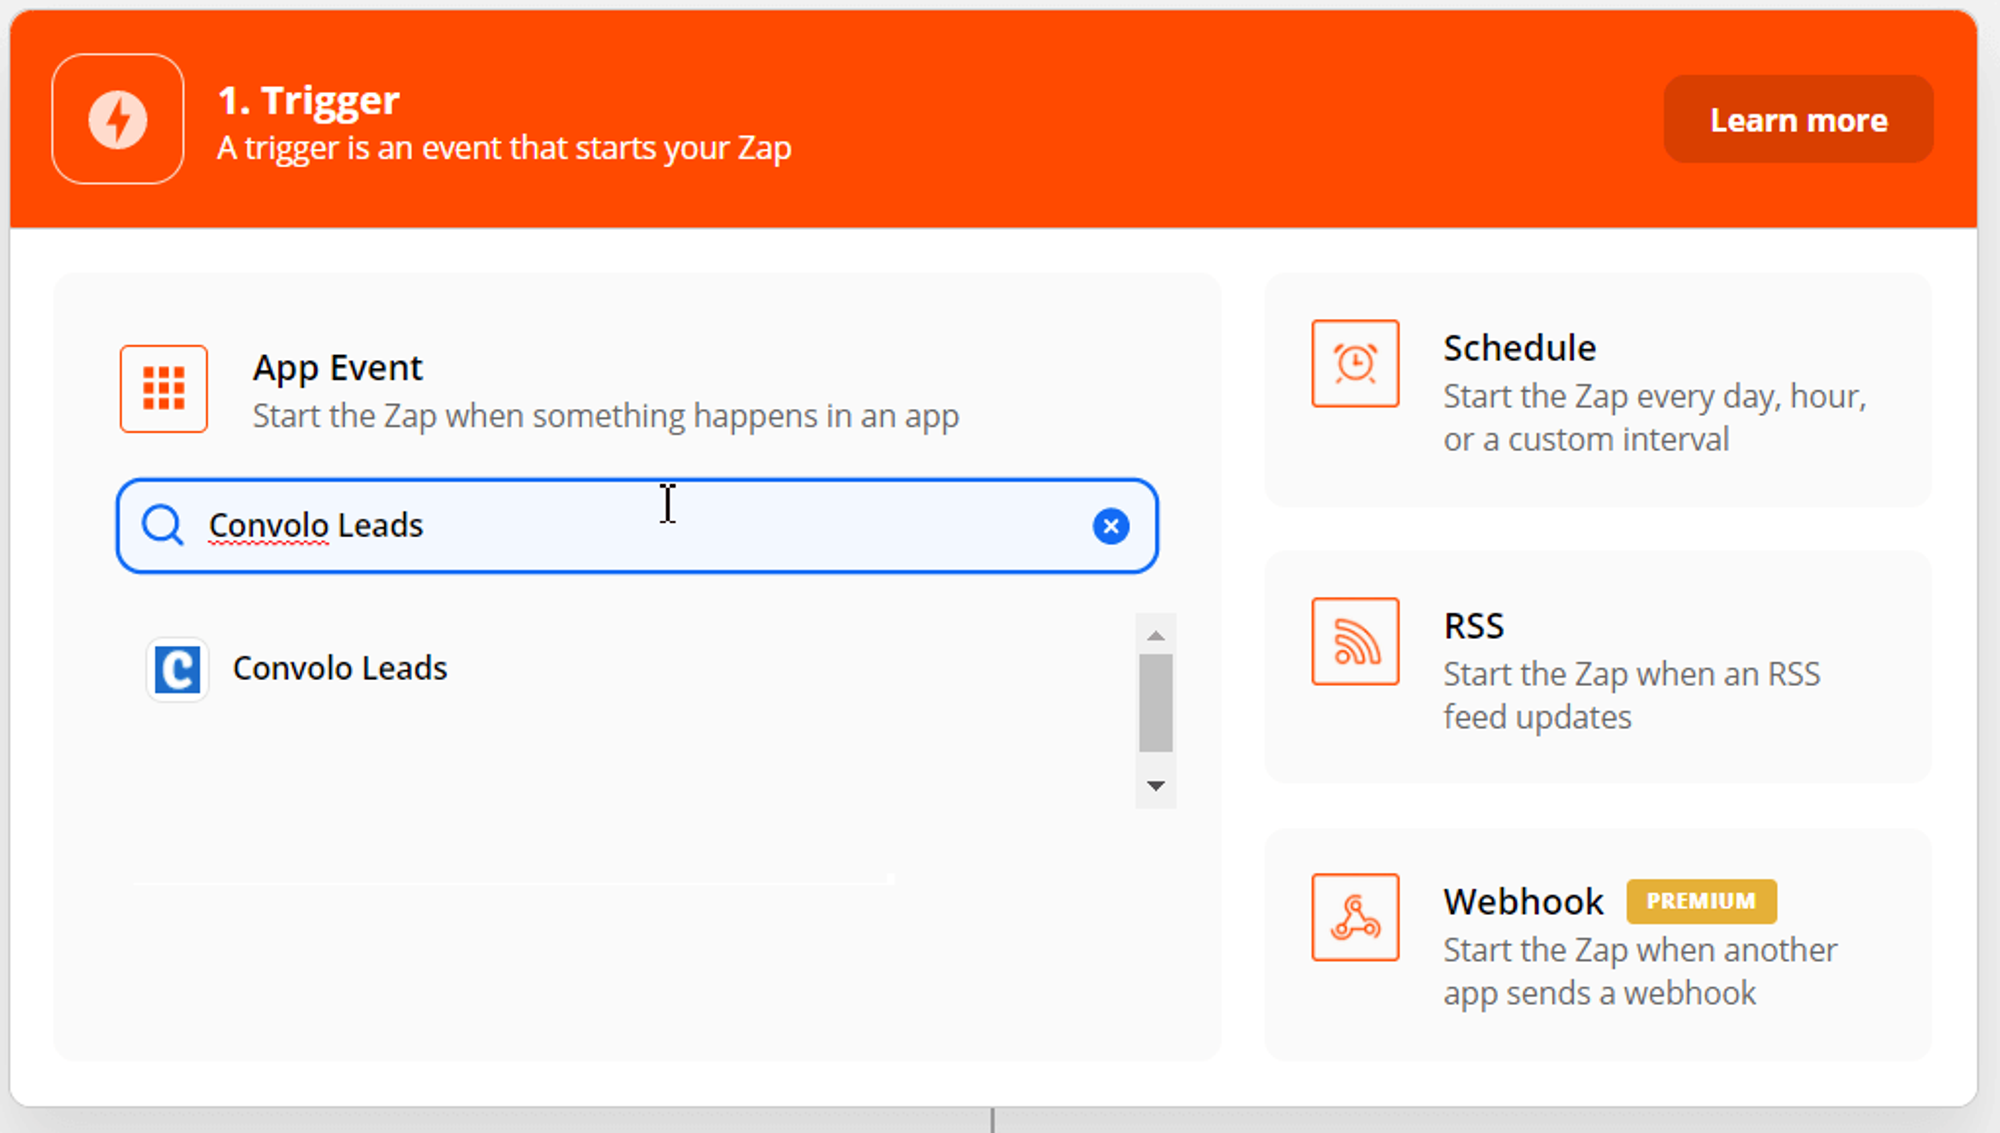
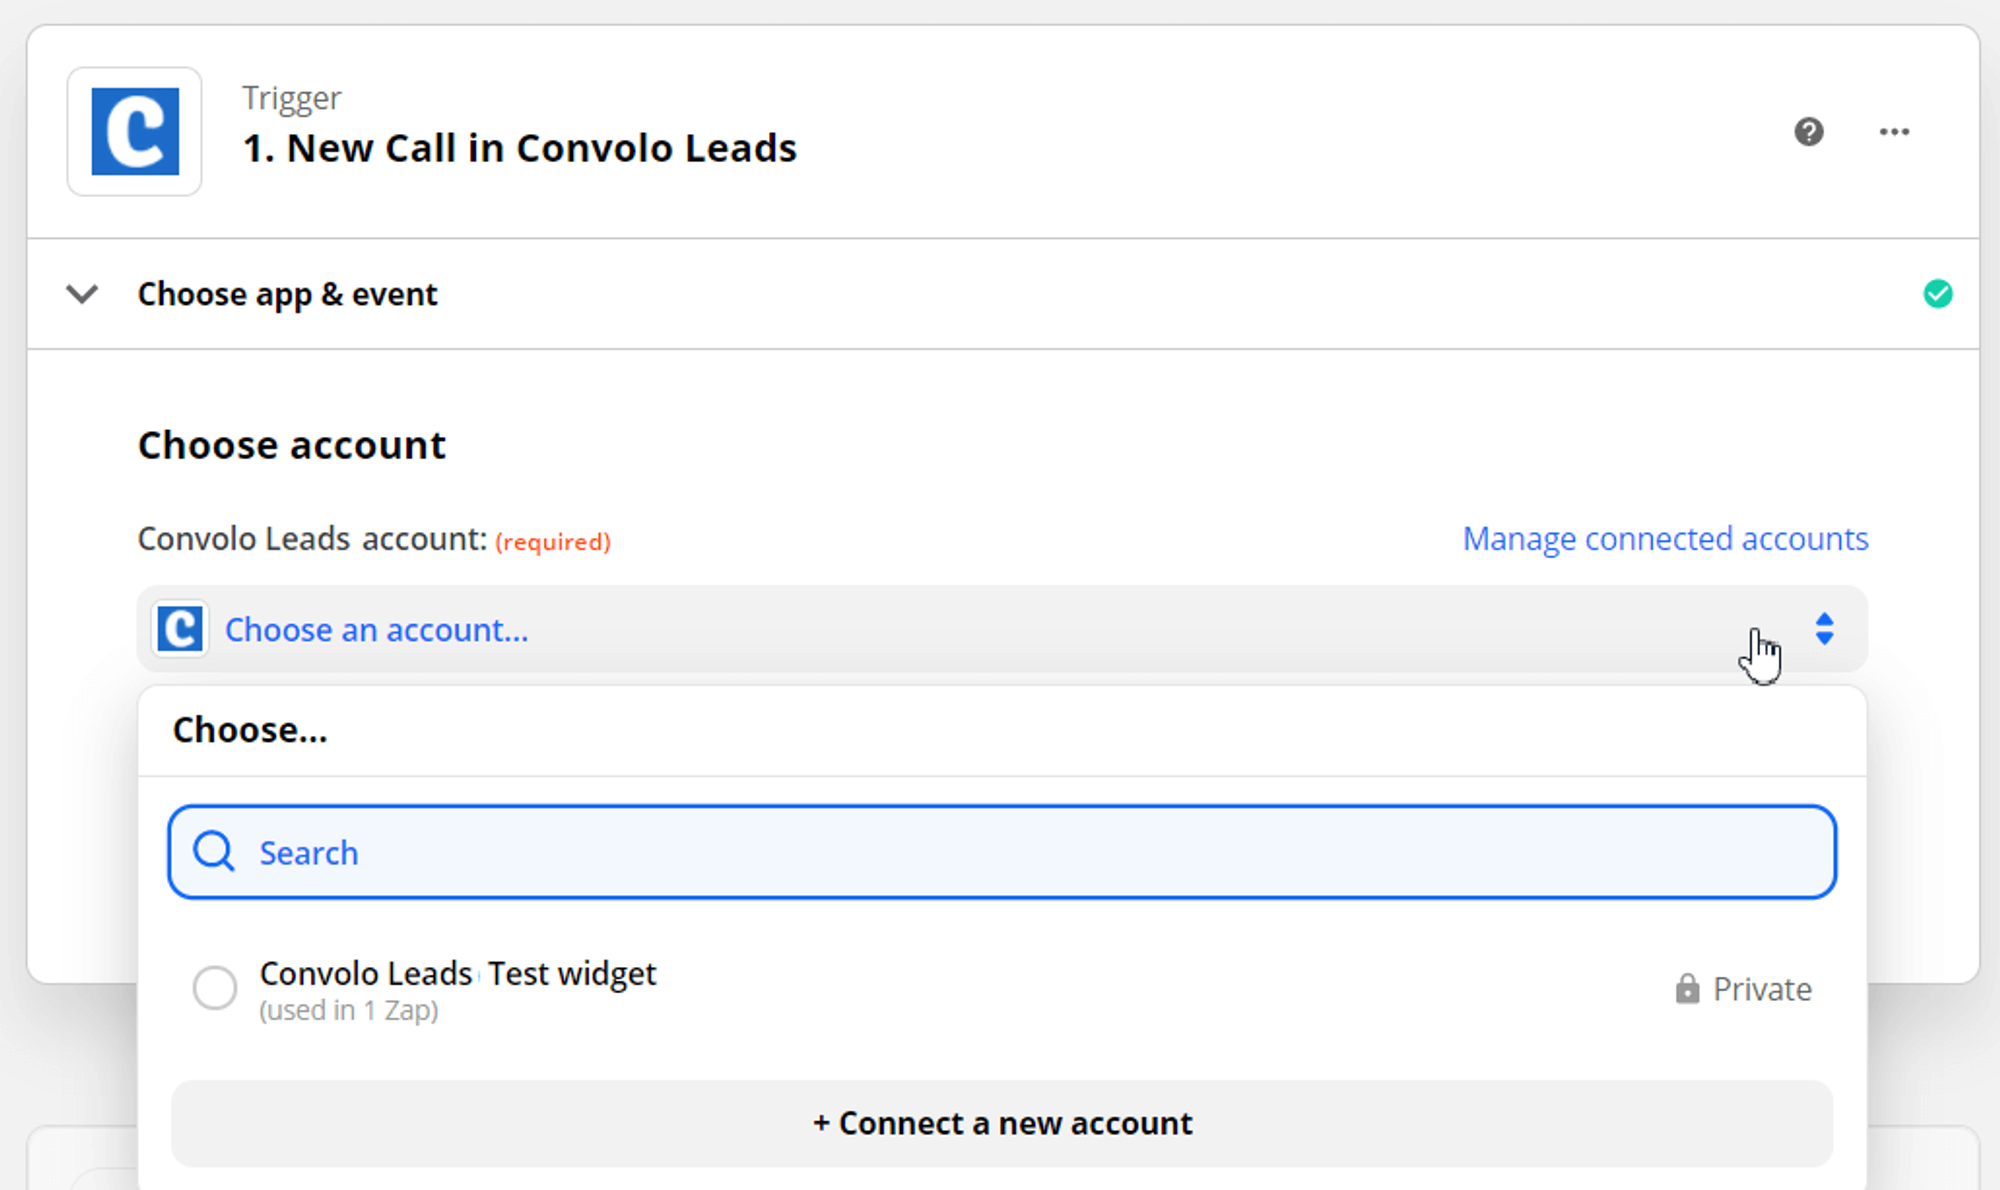
Choose Convolo as a trigger:
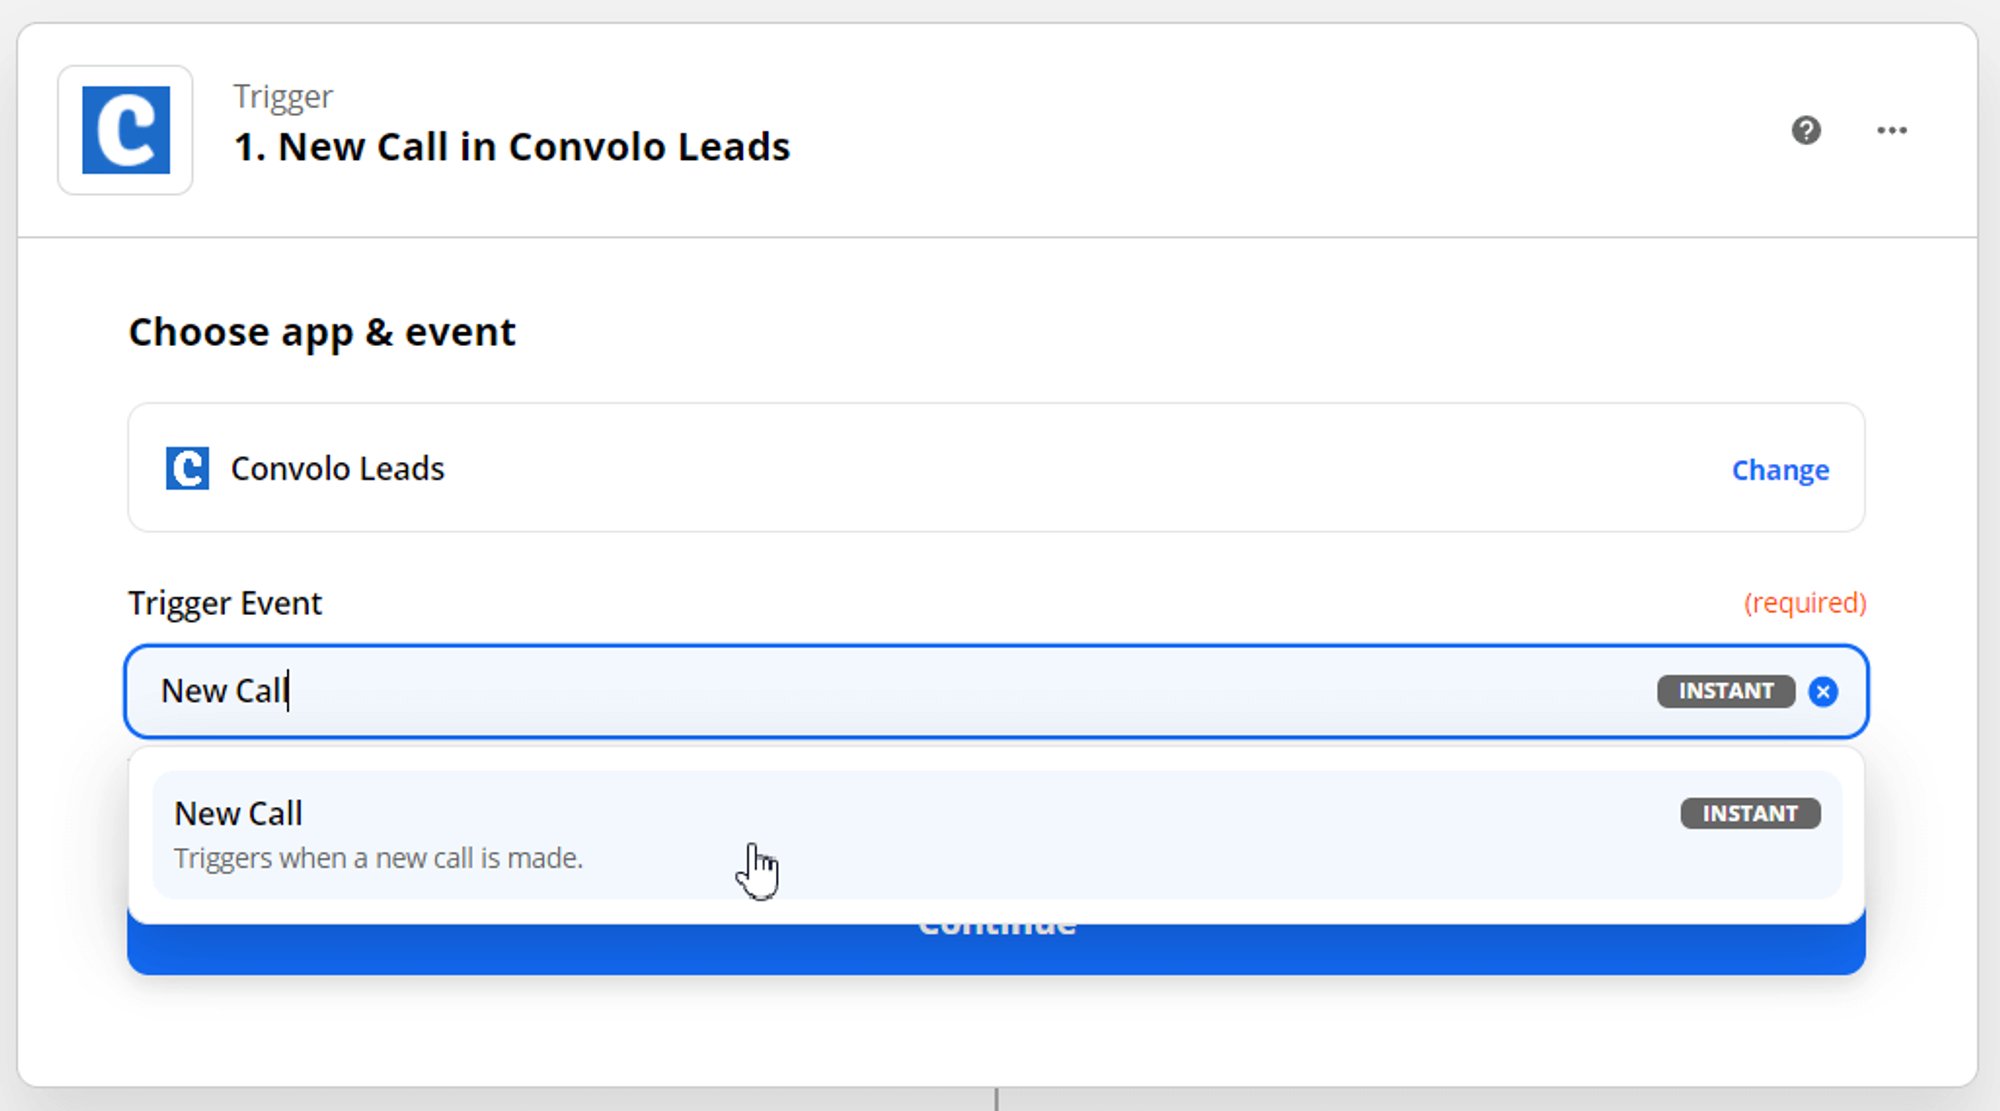
Choose New Call as a trigger event:
Click the Sign in to Convolo Leads button
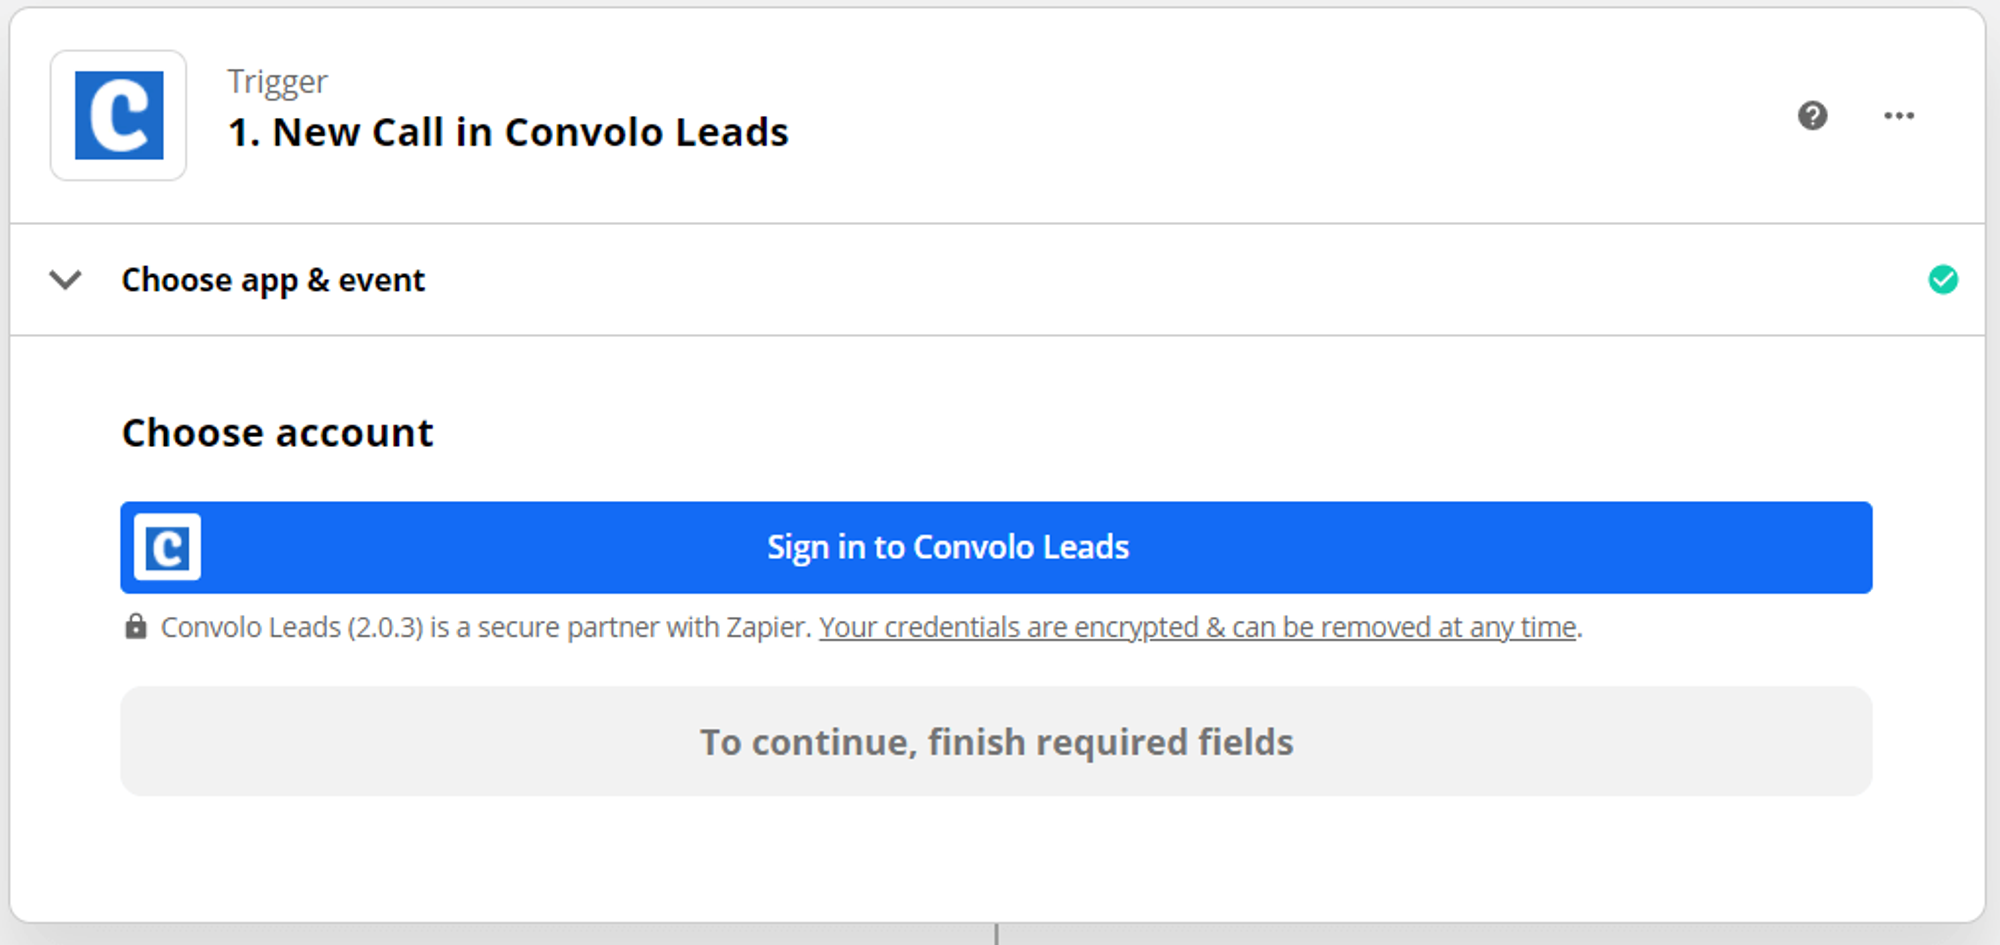
Fill the widget key and API key fields with the same parameters from your widget.
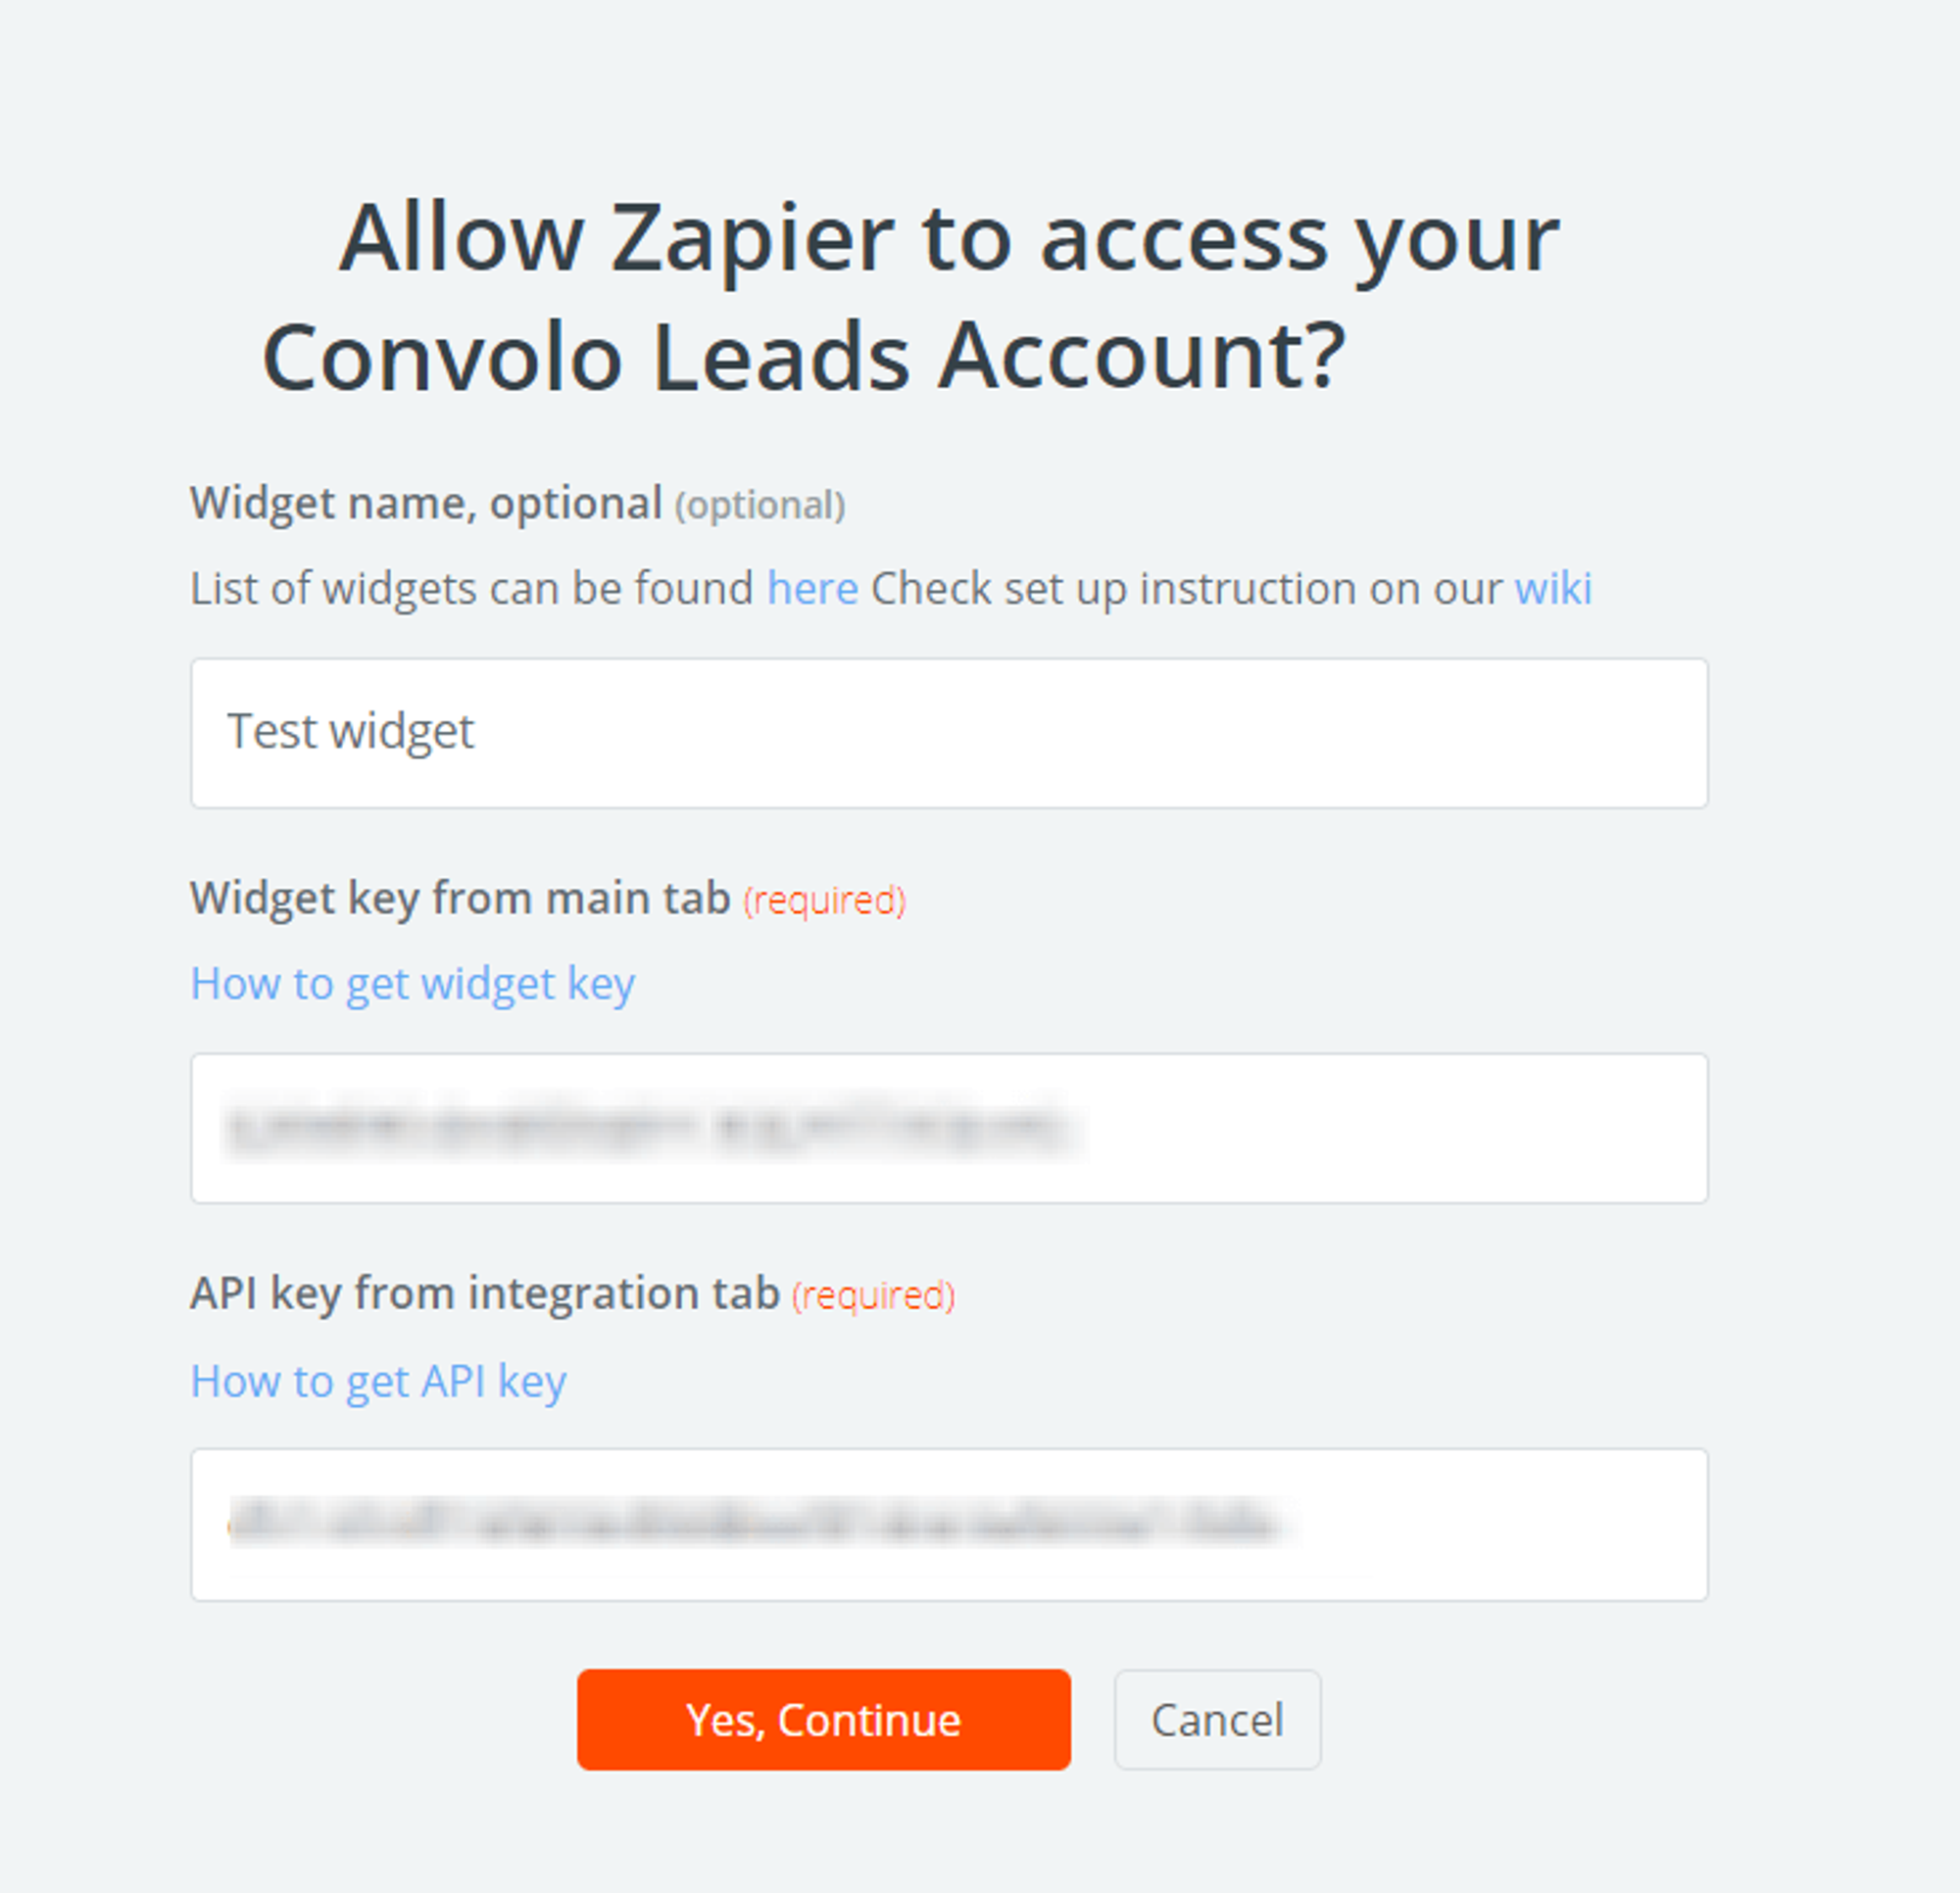
Chose account and click Continue:
Test your trigger

Set up trigger
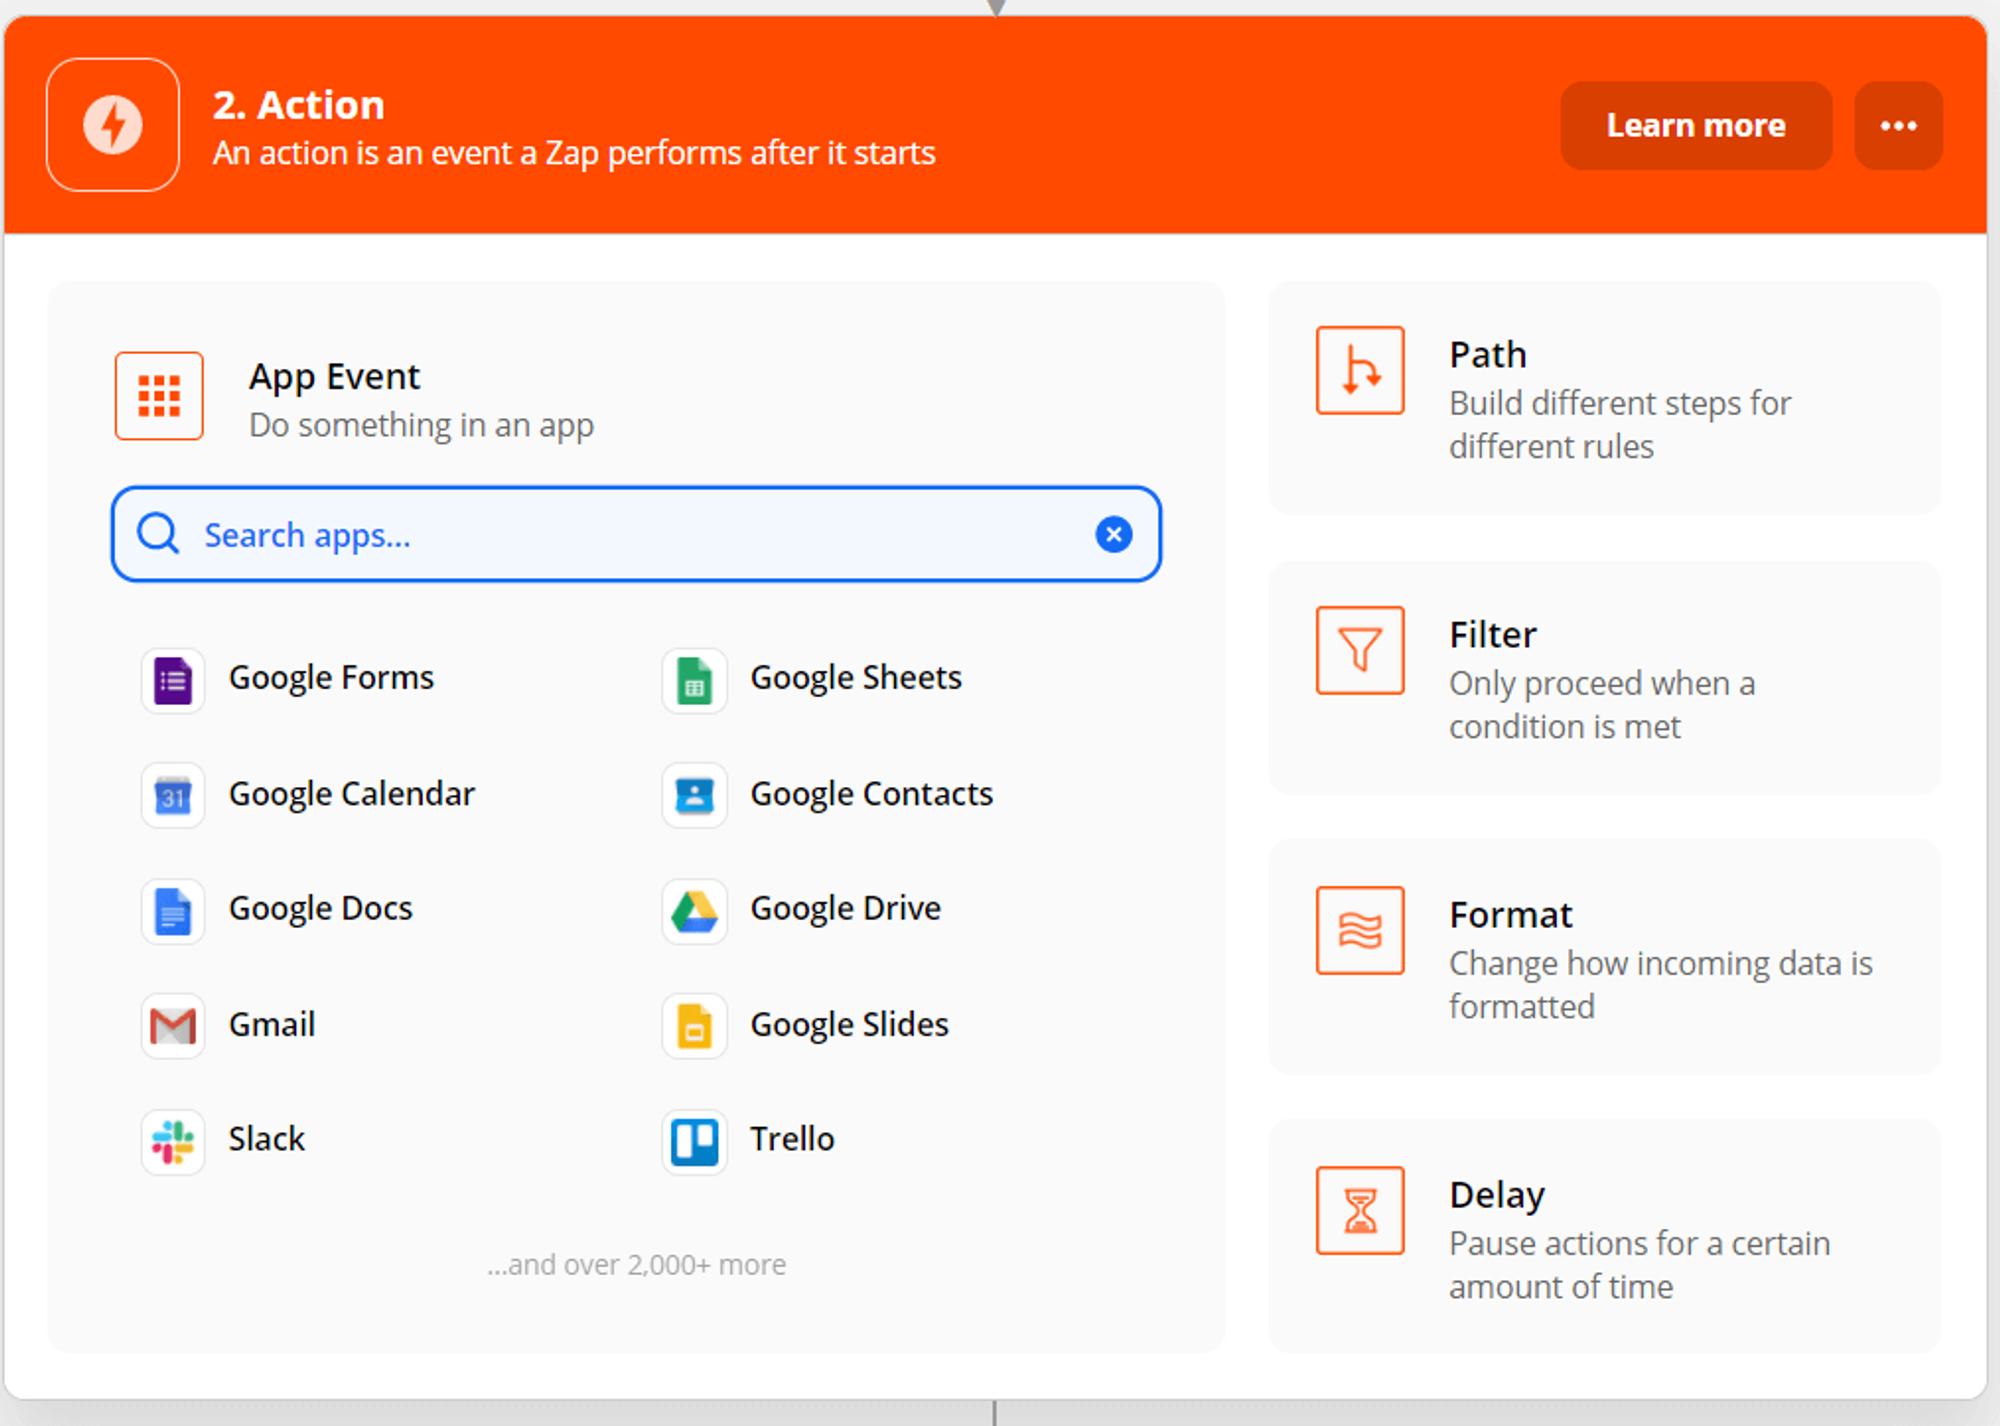
In this example, we'll be using Google Sheets.
Every change of the call status will be polling the trigger: call started, call ended, received client/agent feedback, and so on.
Choose an event you want to proceed lead (Google Sheets in our example)
Choose Lookup Spreadsheet Row as an action
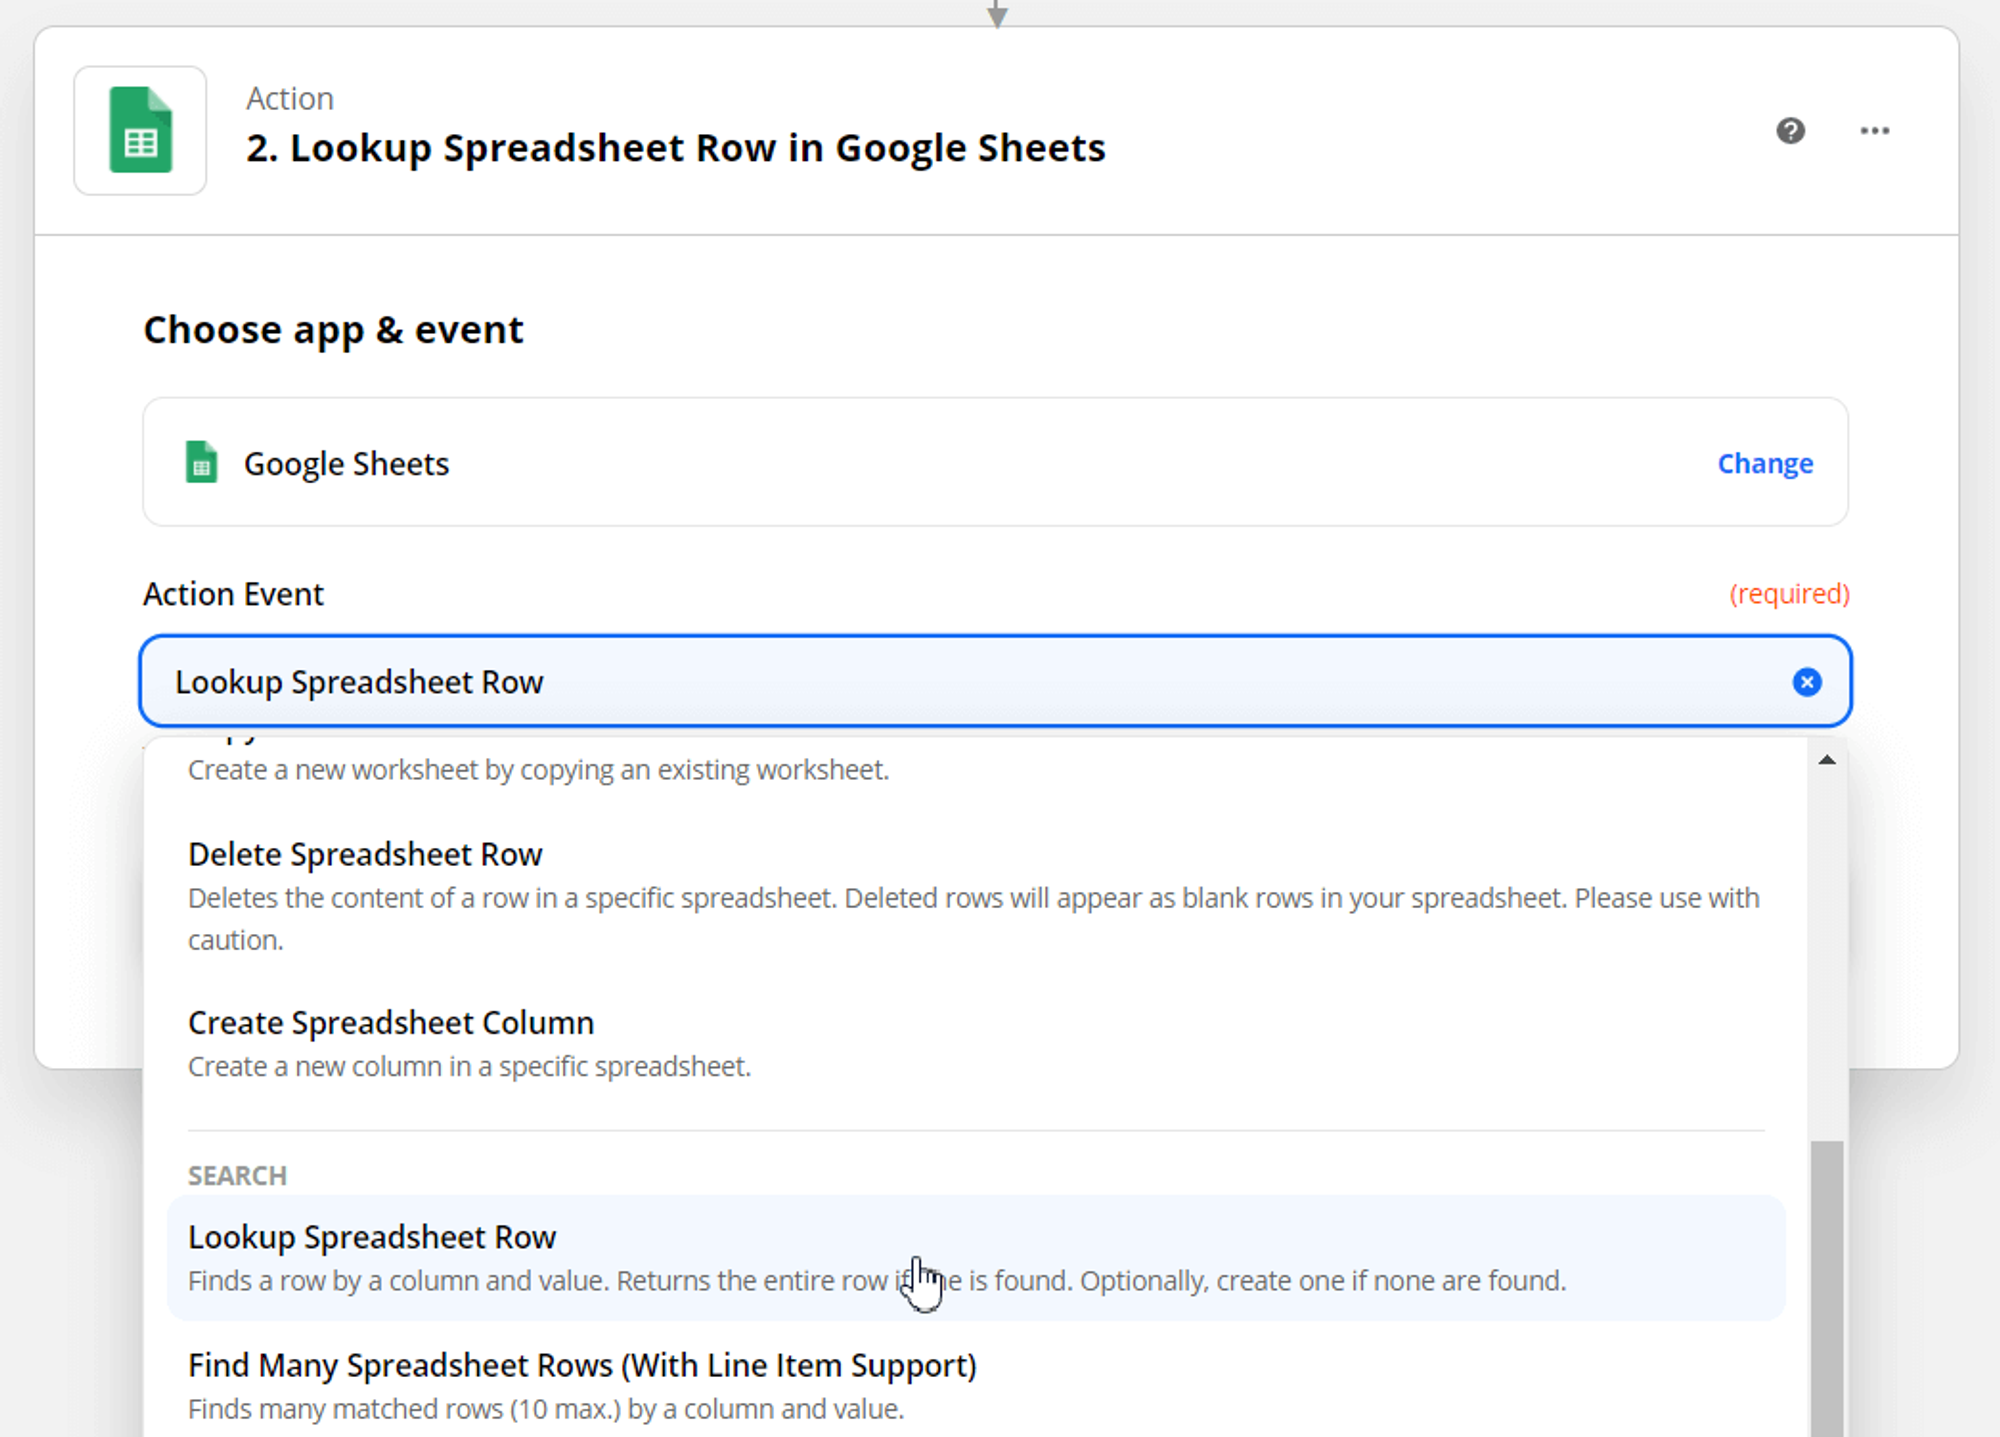
Choose an account:

Set the “Lookup Column” and “Lookup Value” fields. Set bottom-up search to true.
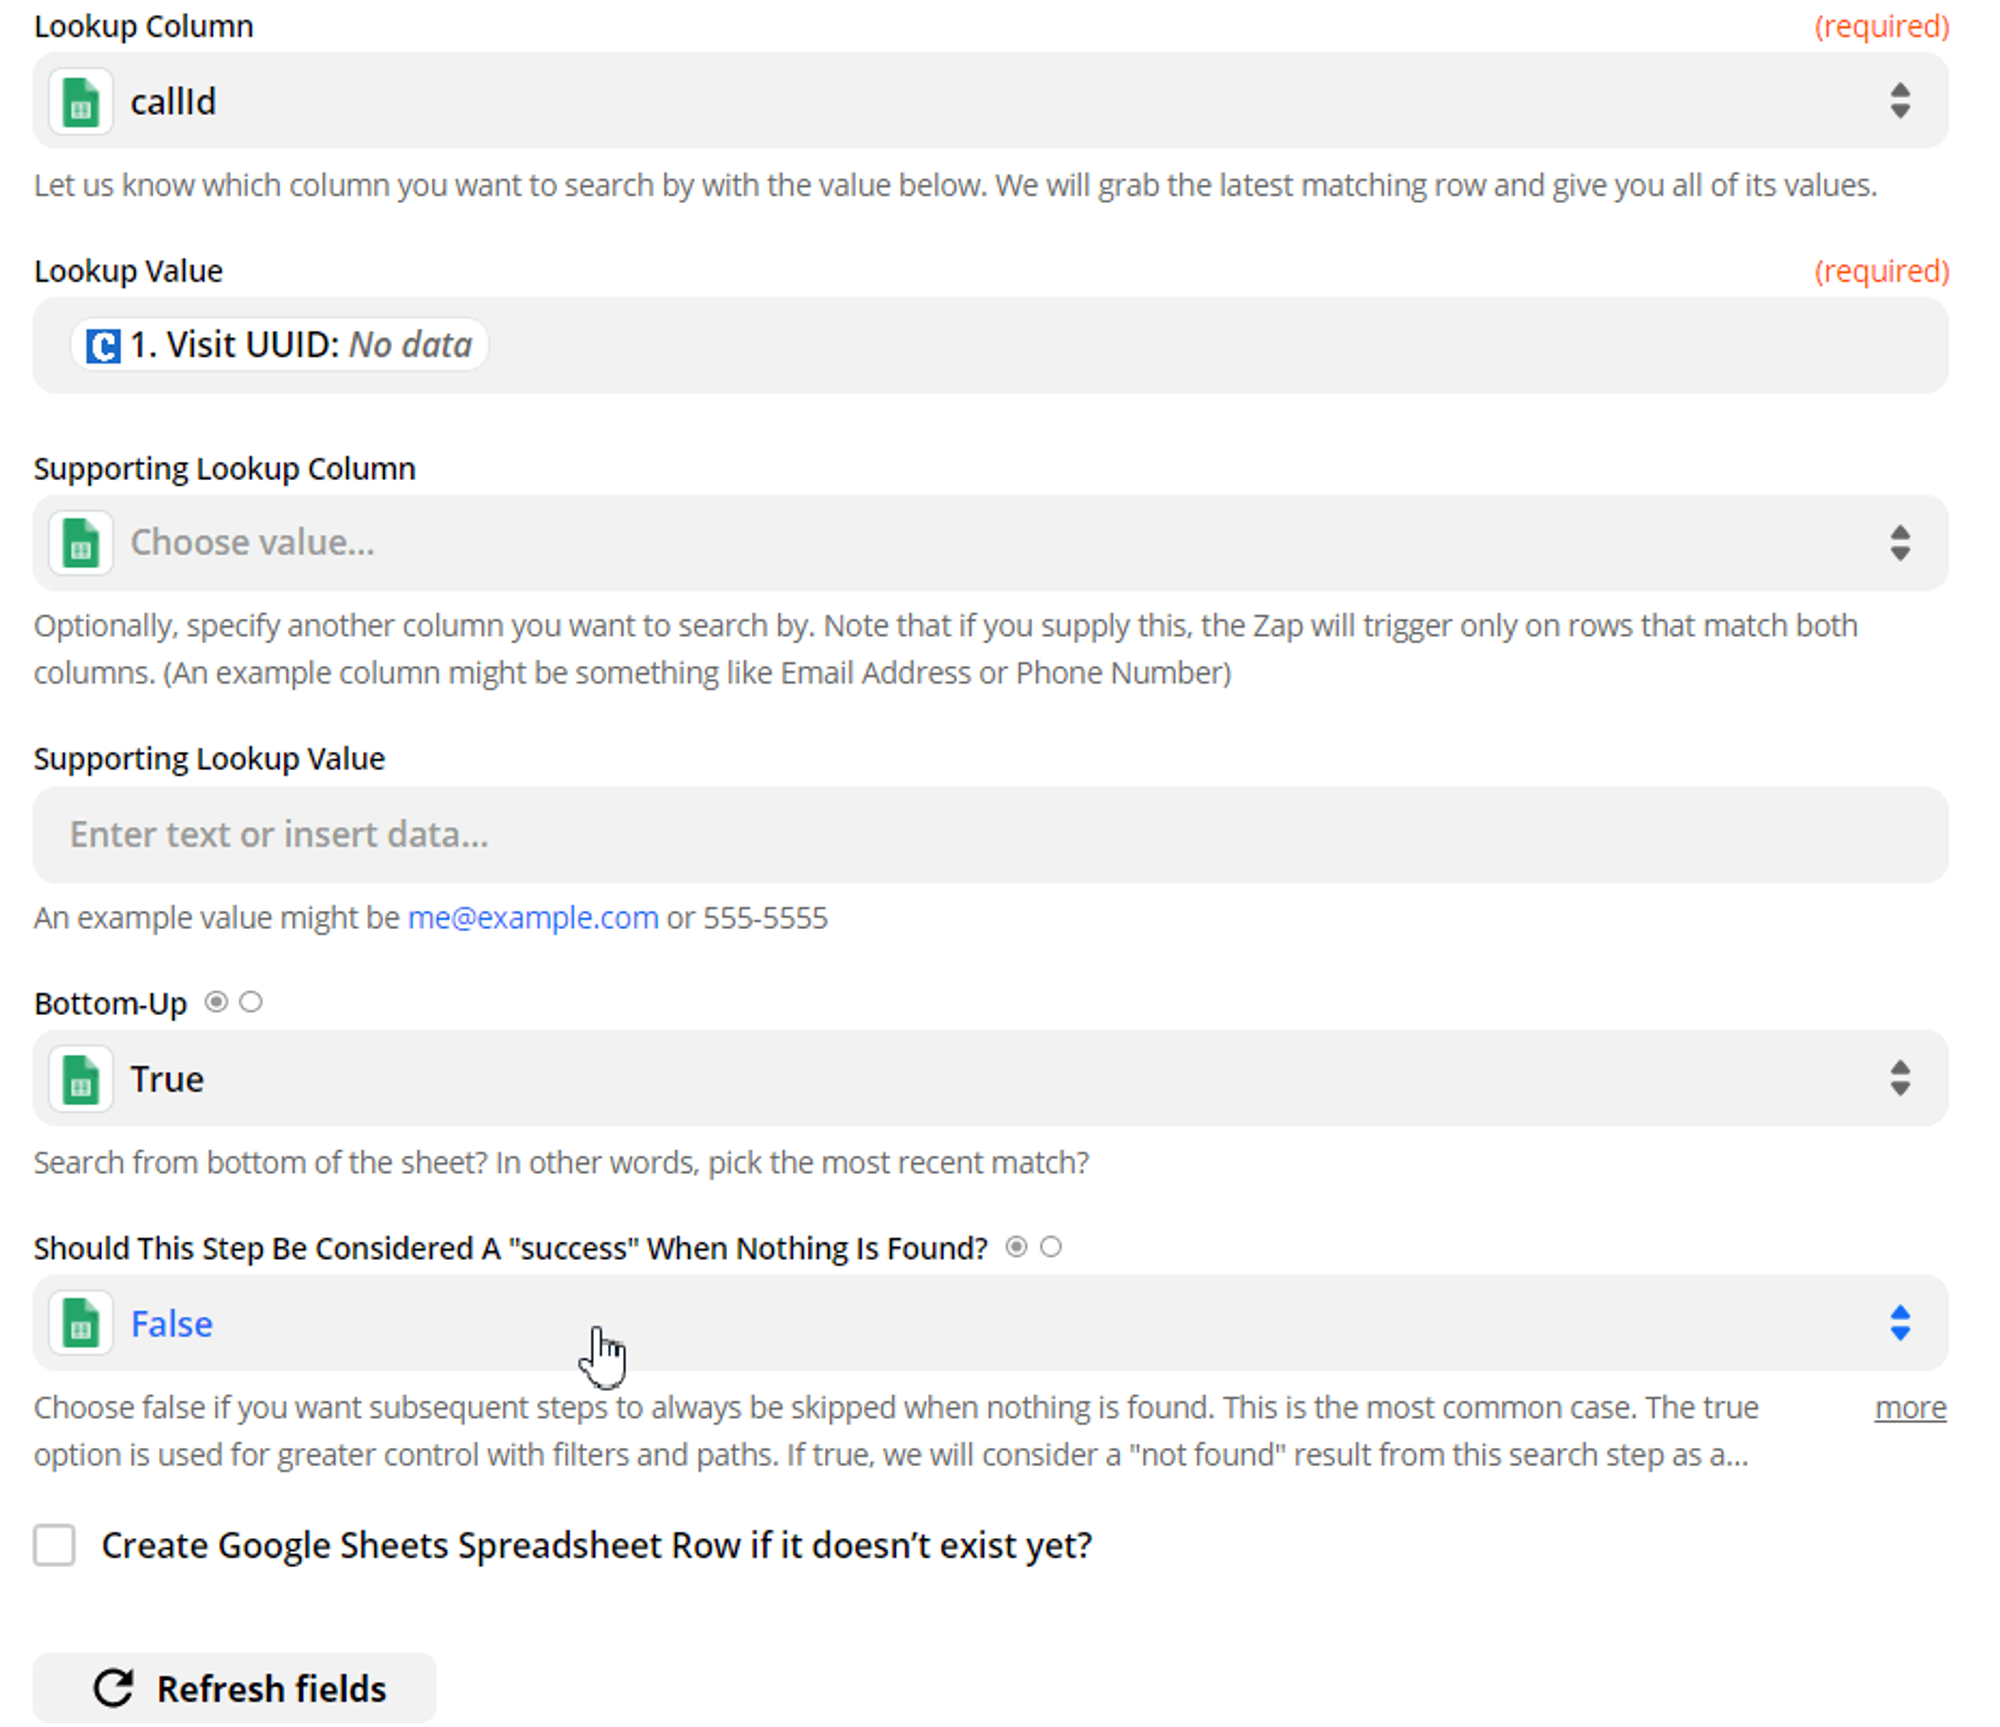
Check “Create Google Sheets Spreadsheet Row if it doesn’t exist yet?”, if needed.

Click Continue and test action.
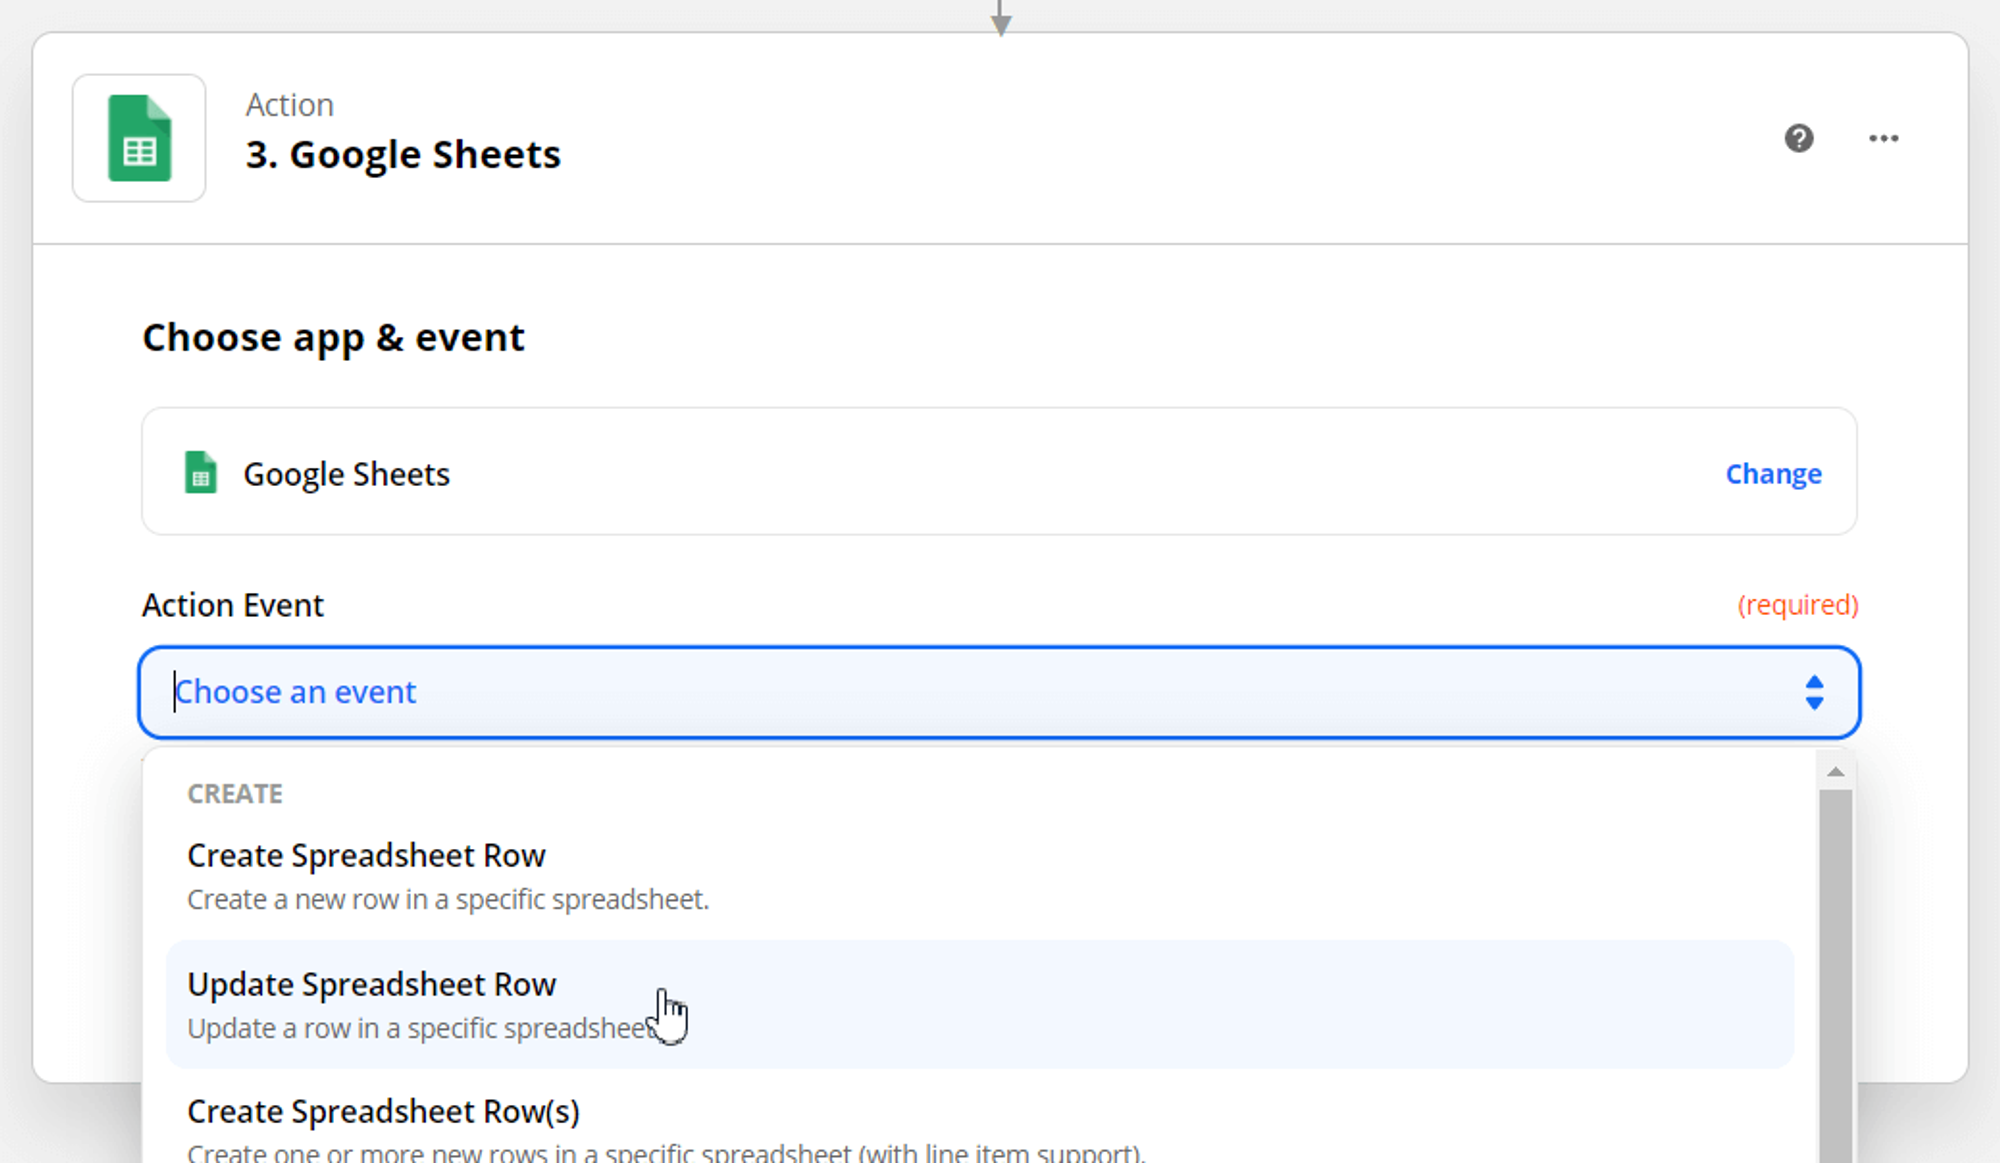
Add one more action
Once again choose Google Sheets, but this time with Update Spreadsheet Row as an action:
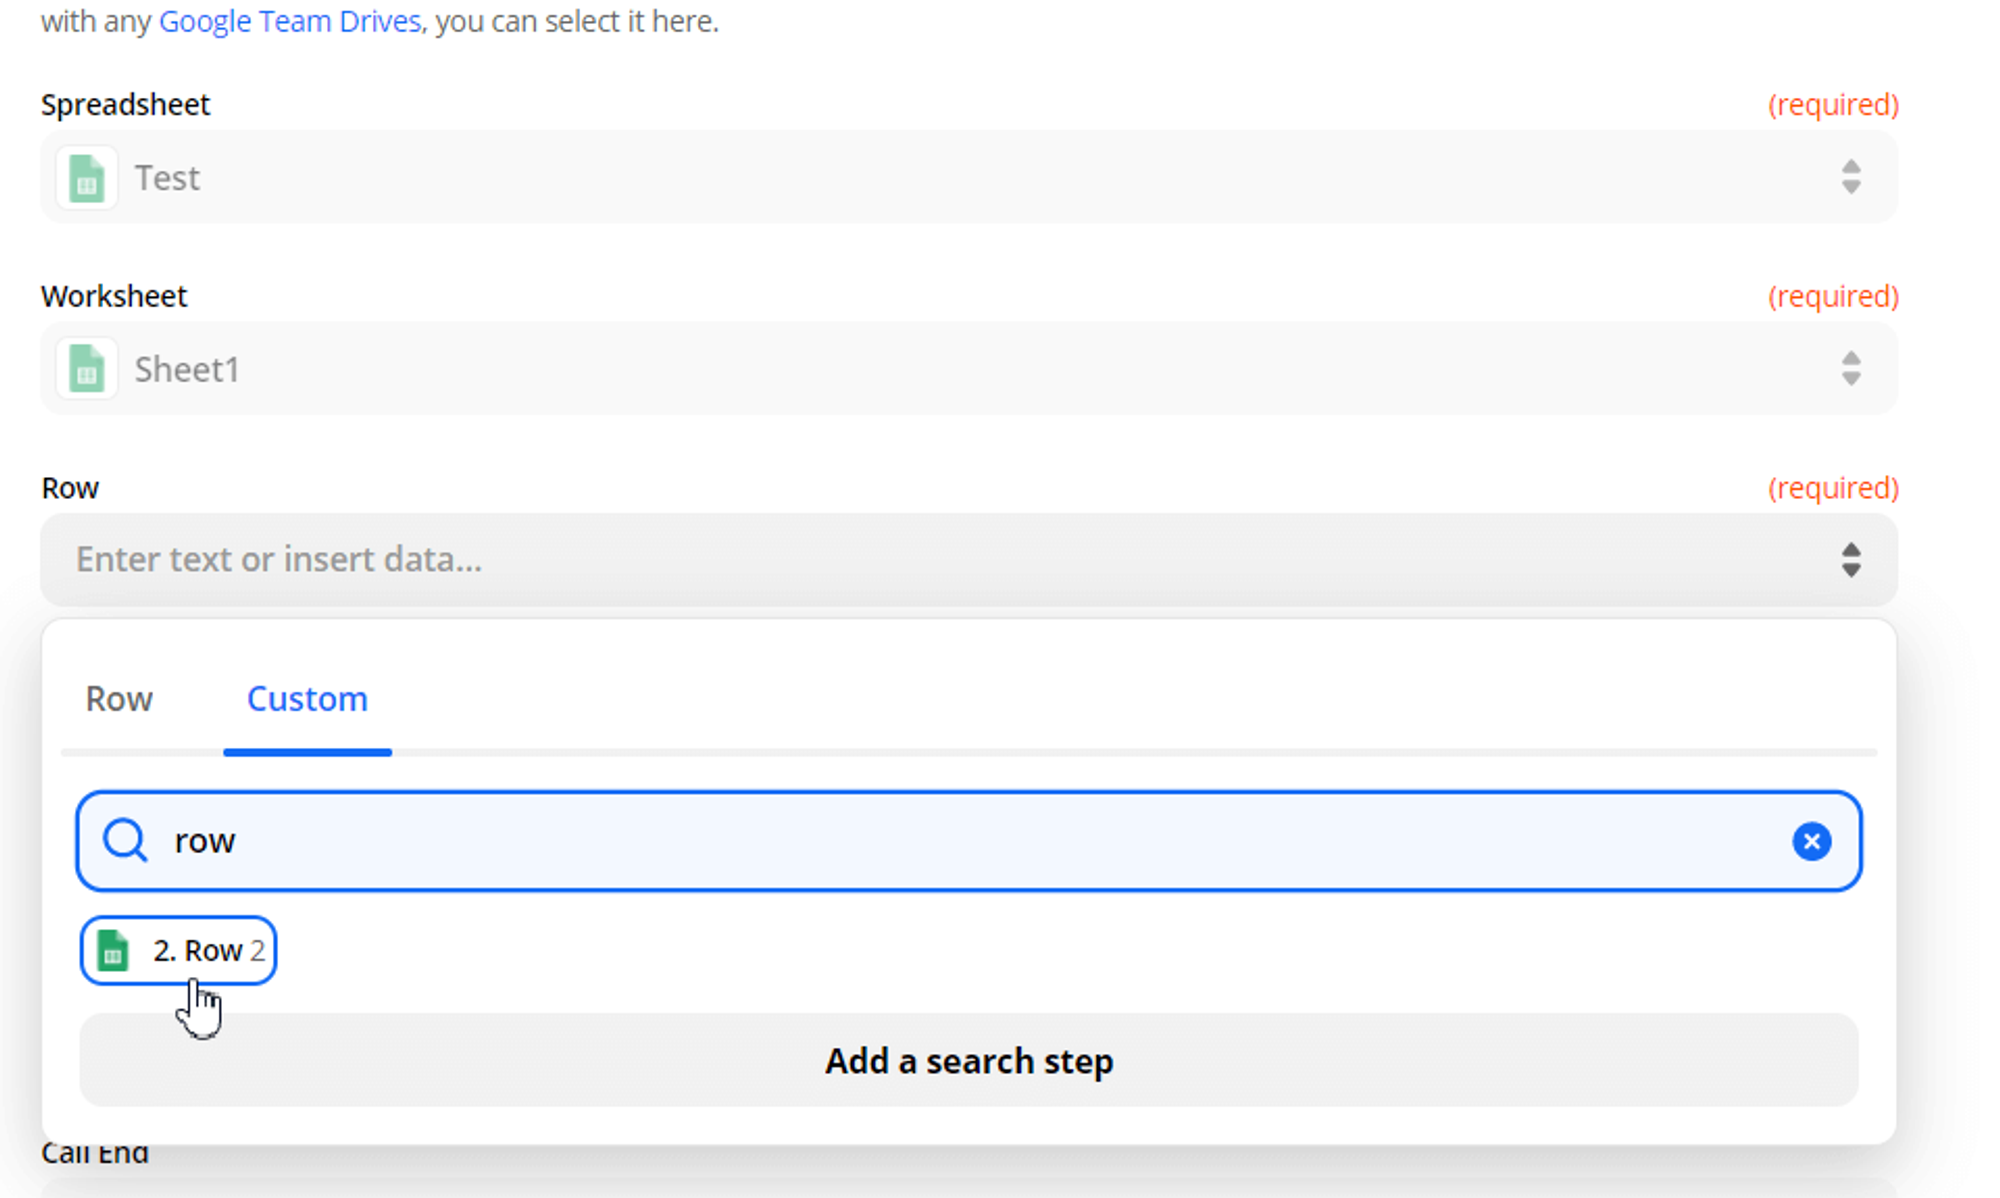
Choose the Row parameter from the previous step as a row:
Choose the data you want to update:
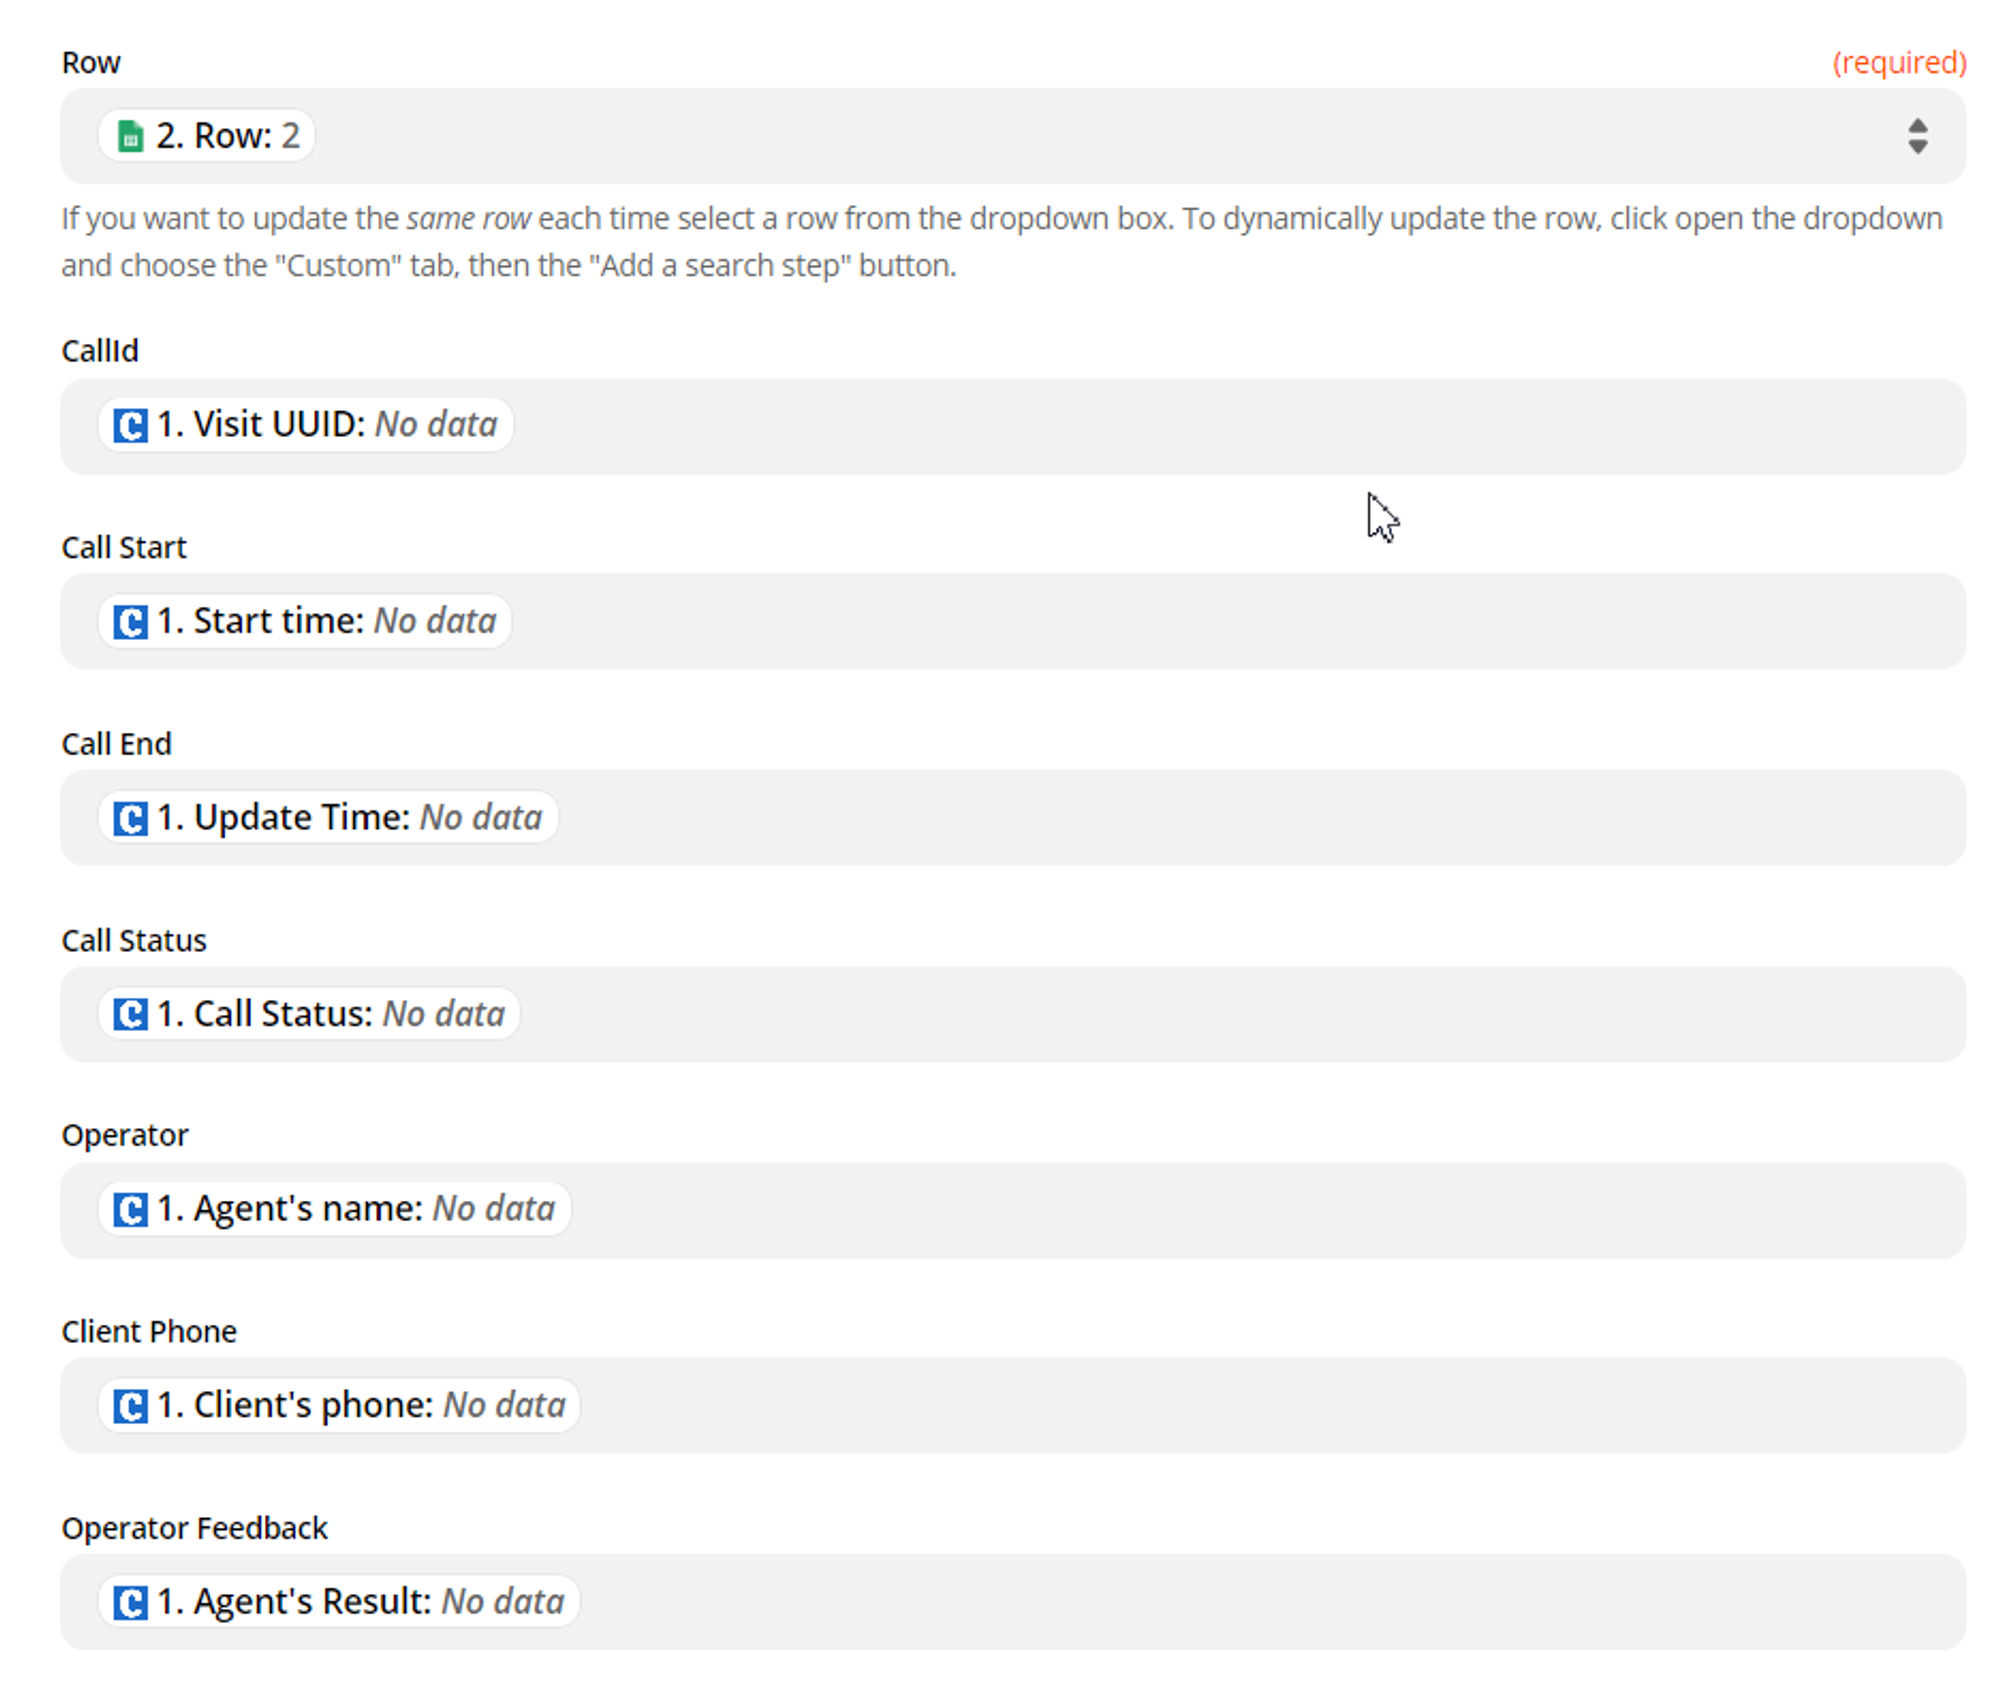
Test action, then turn on Zap
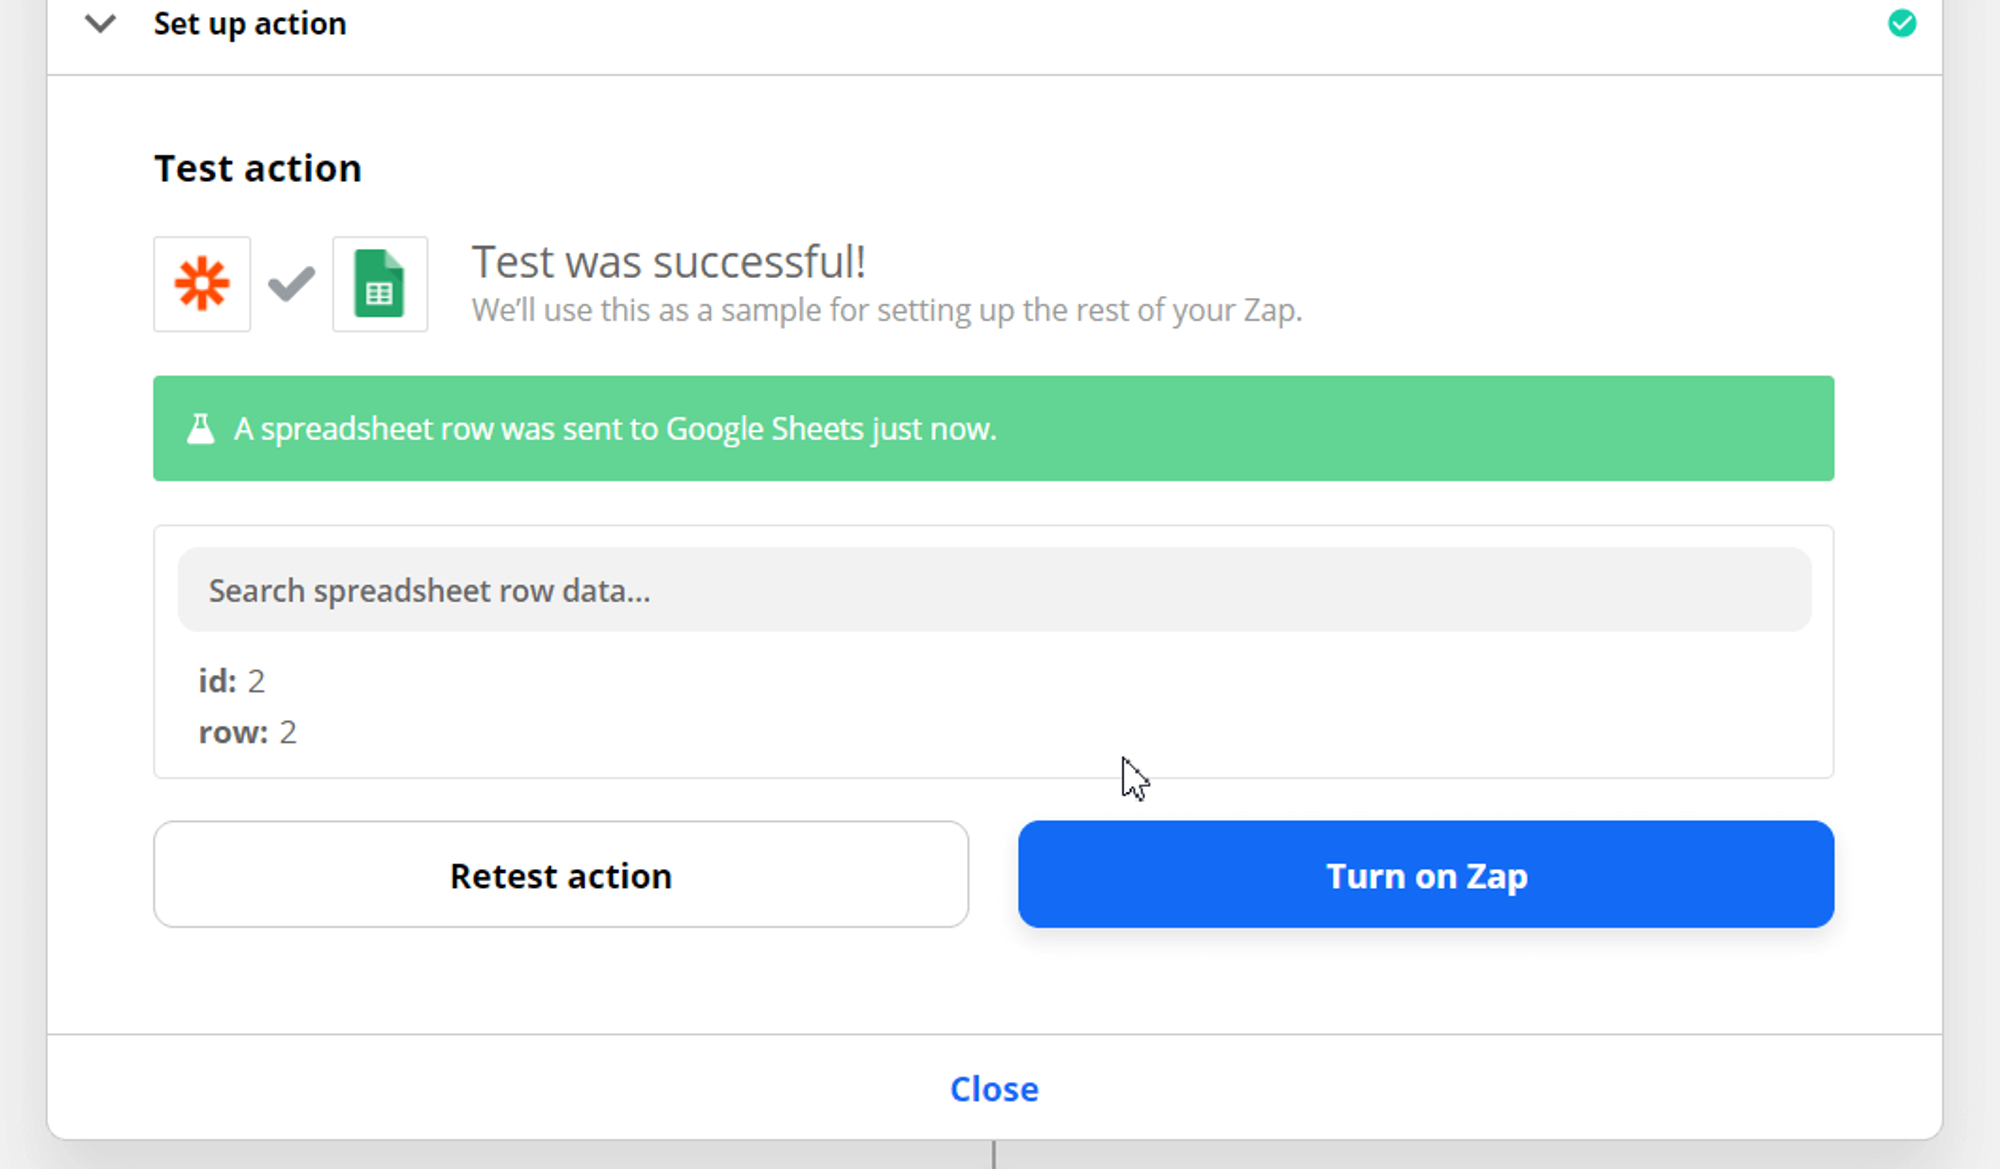
There. You’re all set to Get Data using Zapier!
If you have any questions, please email us at support@convolo.ai
Read next:
Getting after-call data via Zapier [Trigger]
Interested? Read More...
Learn more about Lead Management and Outbound Calling
AI-Powered Communication Platform


AI-Powered Communications Platform

© Copyright by Brightcall - All Rights Reserved